
Multi-Factor Authentication (MFA) sometimes called two-factor authentication is an additional security method to secure your account
Service Description

Microsoft Multi-Factor Authentication (MFA) is a mandatory security measure applied to all AUP staff, faculty, and students.
To begin setting up the MFA, follow the steps below:
- Open a web browser and go to the official Microsoft Office website at office.com.
- Click on the "Sign In" button located at the top right corner of the page.
- Enter your AUP e-mail address in the provided field. Your AUP e-mail follows the format of your NetID followed by '@aup.edu'.
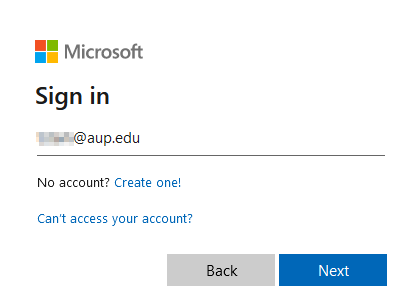
- Click on the "Next" button.
- On the next page, enter your password associated with your AUP e-mail account.
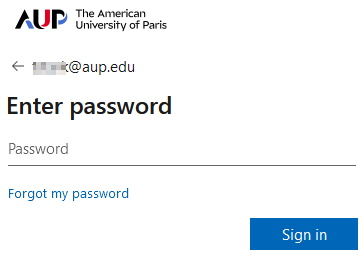
- Click on the "Sign in" button.
- On the "More information required" screen, you will see a message indicating the need for MFA setup.

Click on the "Next" button to proceed.
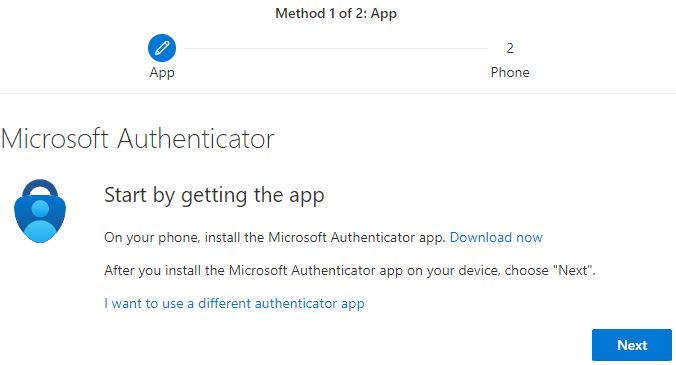
Authenticator app:
- Download and install the Microsoft Authenticator app on your smartphone (available on the App Store for iOS devices and Google Play for Android devices).
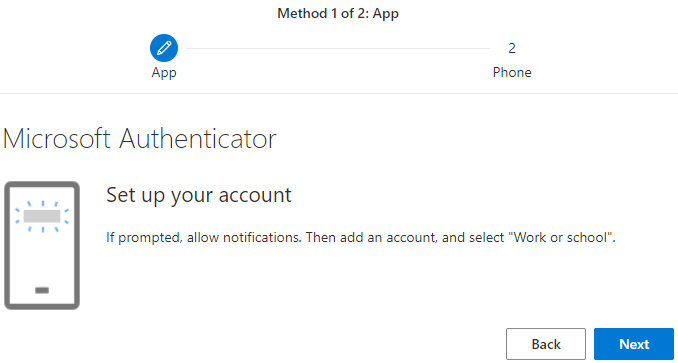
- Make sure to allow notifications when prompted.
- Make sure to allow notifications when prompted.
- In the "Keep your account secure" page, click Next.
- The following page will prompt you to 'Add work or school account' on the app.
- Please skip this step by clicking "Next".
- The following page will prompt you to 'Add work or school account' on the app.
- On the app, choose the option "Scan a QR code" to sign in. Use the app to scan the QR code displayed on the page.
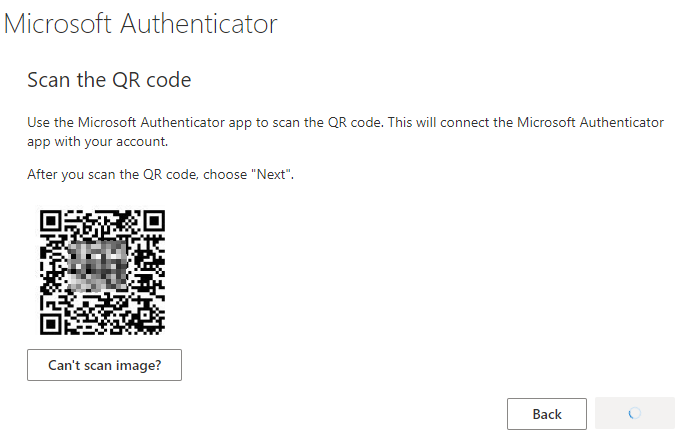
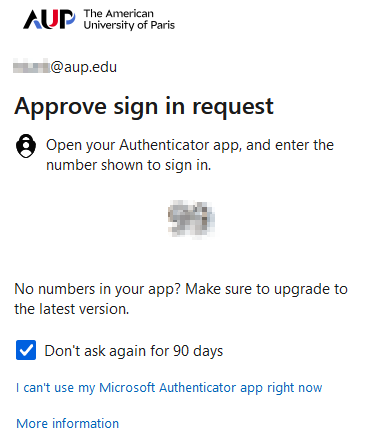
- Once the QR code has been successfully scanned, enter the 2-digit code shown on the webpage in the app.
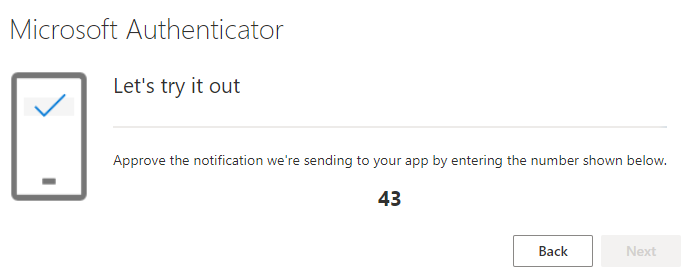
- Select "YES" on your device.
- Select "YES" on your device.
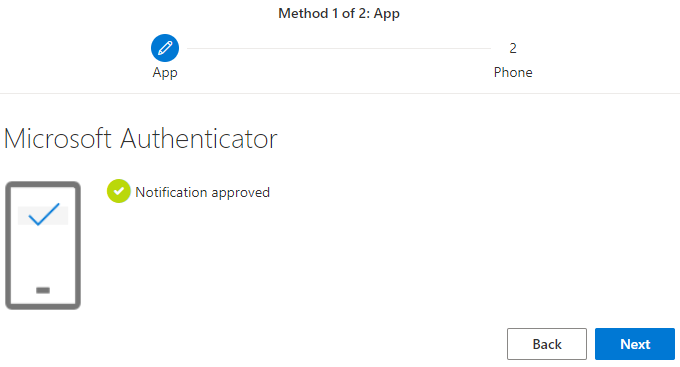
- After verification, click on "Done" to complete the setup process.
Phone number:
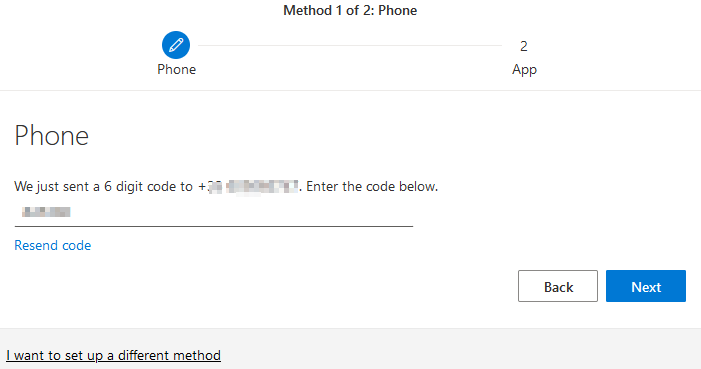
- In the "Keep your account secure" page, select country code and enter your phone number.
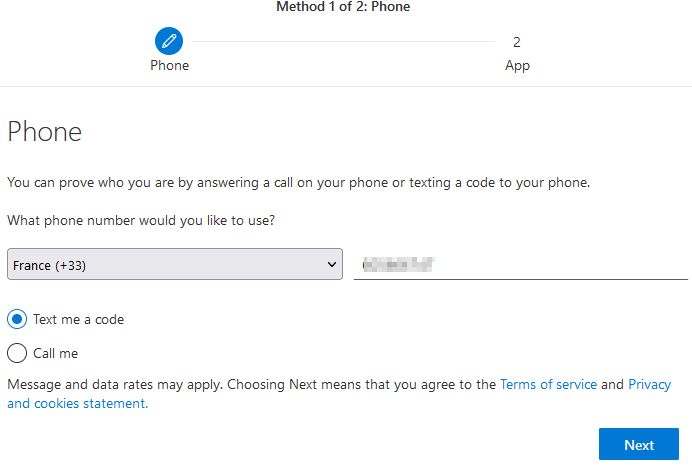
- Select whether to receive the verification code via text or call.
- Make sure that you have good cell service or are able to receive calls/texts via mobile data or Wi-Fi.
- Once you have received the 6-digit verification code, enter it in the space provided and click "Next".
- After verification, click on "Done" to complete the setup process.
E-mail address:
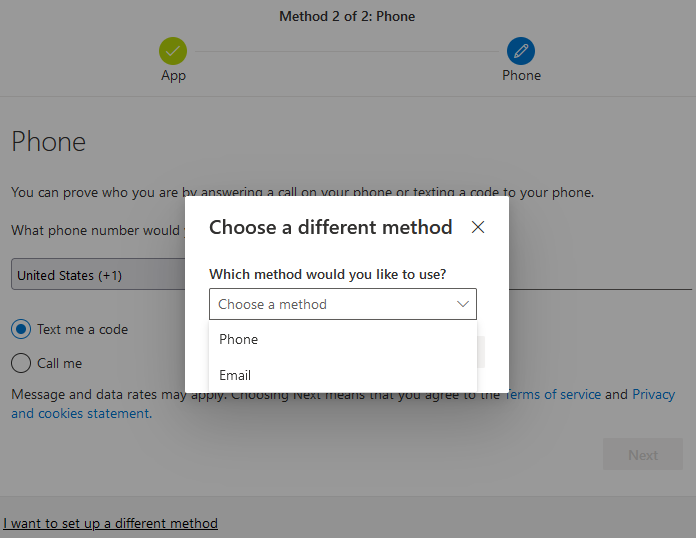
If you changed the setup method from Authenticator app to Phone at the step, the second step will still prompt you to set up with the authenticator app. You can still choose E-mail as shown below:
However, the email option will only serve you to reset your password in case you are locked out of your email account, but it is not considered as an additional authentication method.
- In the "Keep your account secure" page, enter your email address and click "Next".
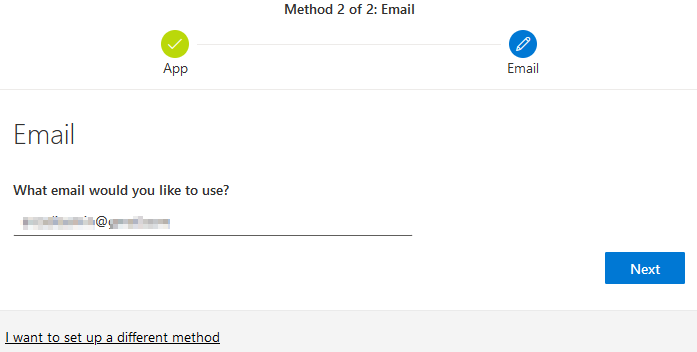
- N/B: You cannot use an AUP e-mail for this process; you must use an alternative e-mail to receive the verification code.
- N/B: You cannot use an AUP e-mail for this process; you must use an alternative e-mail to receive the verification code.
- Check your email for a 6-digit verification code, and enter it in the space provided on the page.
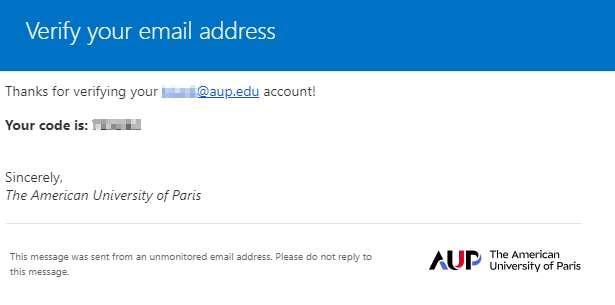
- After verification, click on "Done" to complete the setup process.
Congratulations!
You have successfully completed the setup process for Microsoft Multi-Factor Authentication (MFA) using the provided methods. Every 90 days, you will be prompted to open your Authenticator app to enter the 2-Digit code shown on the webpage.
Your account is now active with MFA, ensuring a safer login experience and ensuring better protection against unauthorized access.
Documentation